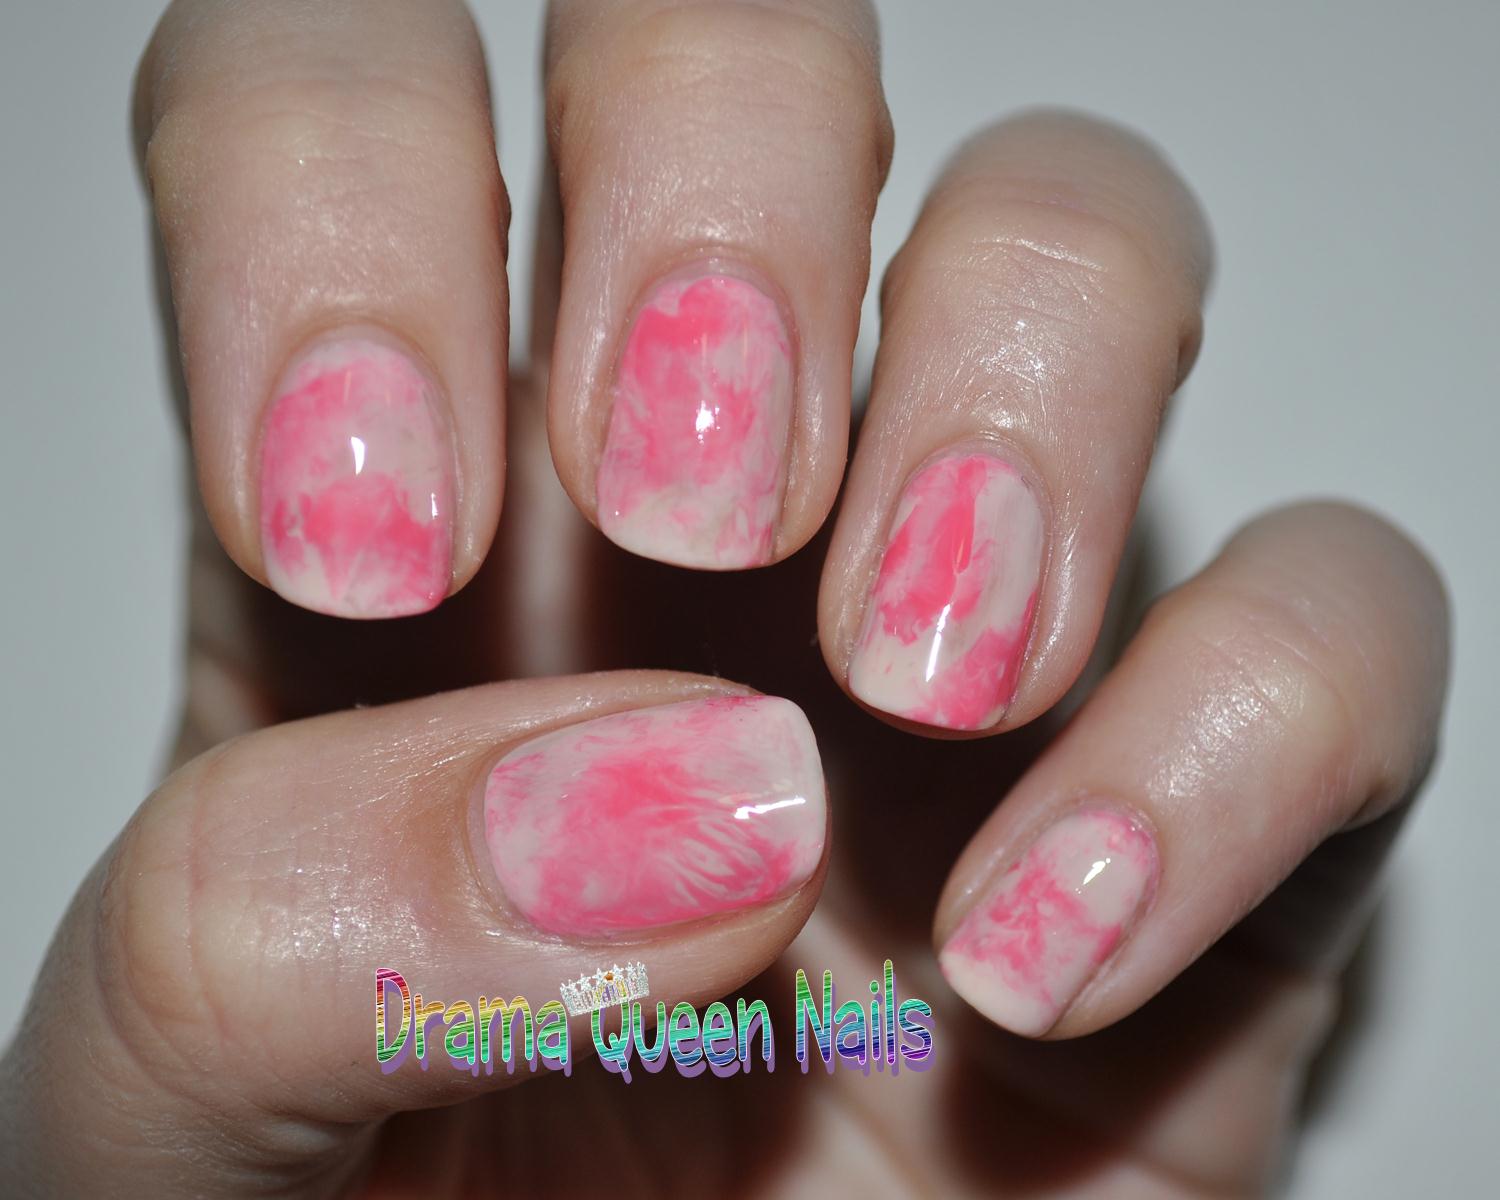
Happy Easter everybunny! I hope you have had a lovely weekend with your family and friends and that the bunny was kind to you all. Now onto the Easter Nails.....candy speckled eggs. Read on for a tutorial.
After trolling through a bazillion IG Easter nails pics over the last few days I was ready to get my bunny on. I had it all planned out to do a kitchen sink mani with bunnies, eggs and of course some polka dots with a glitter accent. But I think I must have used up all my bunny powers yesterday at the markets....I see you cute little bun bun, hop, hop, hop!
I must have spent 3 hours last night messing around with combos trying to recreate the mani I did yesterday but nothing looked right. In the end I gave up and watched a tonne of Game of Thrones episodes instead. After a fresh cup of coffee the next day it came to me as I reminisced about my childhood. Every year the bunny used to bring these hard candy eggs with little yellow and purple candy hearts inside of them, a pastel pink egg for me and a pastel blue one for my brother. Its a miracle we never chipped a tooth on those things, they were like rocks.....delicious rocks!
For this mani I used the Glad Wrap or Saran wrap technique. It dilutes the polish to create subtle colours like a water painting or a beautiful piece of marble. Its really easy, albeit a little messy, but I highly recommend giving it a try as it gives such a pretty end result.
The polishes I used in this mani:
Barry M - White
Barry M - Blue Moon
Barry M - Strawberry Icecream
Barry M - Lemon Icecream
Zoya - Miley
Essie - Playdate
So now on to the tutorial. I did this a little while ago with different colours but the technique behind it is the same, just with more colours.
Step 1: Apply one layer of a base colour. If you are using just 2 colours, apply a coat of the light one. For my Easter mani as I was using 5 pastels I did a white polish base.
Step 2: Dribble blobs of polish onto the Glad wrap but make sure they are touching.
Step 3: Fold the Glad Wrap over on itself and mush all the polish together by tapping lightly on top of the Glad Wrap.
Step 4: Unfold the Glad Wrap to open it up, then dunk your nail over a spot where the polish has marbled nicely together. If you have any bare spots on your nail dunk it again.
Step 5: You will get polish on your skin, so apply sticky tape to cover your skin to limit clean up, or skip it and use a cotton bud and remover to clean up. Because the polish is diluted a bit clean up isn't too bad.
This was the finished product when I used just 2 colours.
Would love to see pics if you give this technique a go. Tag me on Instagram @dramaqueennails
Happy Easter!