There are multiple ways to create coloured stamping designs and each technique has its pros and cons but I promise you that after trying this version you will be making decals quicker than ever before!
In the past I have done coloured stamping by using either a small paintbrush to add colour over the stamp (colouring in), this technique called Reverse Stamping or the lead lighting technique. A pro to colouring in is that's its quick. A drawback to painting colour is its hard to stay in the lines. A con to reverse stamping is that it takes a really long time between each step, however you can make 10 decals at a time meaning your can do an entire mani. Lead lighting has its drawbacks too in that you need to build a collection of suitable sheer or tinting polishes and you may get "smearing" especially with black stamping polish both when you apply the tints and also when you apply topcoat. However a bonus with lead lighting is that again you can do an entire mani and if you are sneaky you can make your own tinted polishes by thinning them and mixing with clear polish.

If you want to smash out a punchy opaque accent design quickly and easily using the polishes you already own, then the stamper decal technique is a beauty. There are a few tutorials floating around the net on how to do this but every one I have seen used a squishy stamper. I wanted to test a theory that I had that you can create these decals with any stamper, meaning that you can make a few at once by using all the different stampers that you have. So lets have a look at the results and how to create the decals. White squishy stamper vs. Konad mushroom stamper vs. firm green stamper - all available here.

STEP 1: Pick an image with parts that you can fill in that also has large amounts of background space for your secondary colour to shine through. Choose your outline colour and stamp the image onto your stamper of choice. I used Konad special stamping polish in white. Now the best part, you really don't need to wait very long before the next step, I left mine about 3 minutes. This heart design is from the Bundle Monster 2012 (300) collection, plate 317. Available here.

STEP 2: Use a small paintbrush and your polish of choice to colour in the parts of the design you want to highlight. I chose Orly - Beach Cruiser. Obviously choosing semi-sheer to opaque polish will give you more of a "pop" of colour but sheers and tints also work well because of the way the background colour becomes "undies" to the sheer polish. It's ok if you go outside the lines a little bit because once you flip the design over you won't really see it. By the time I had coloured all the hearts in on all 3 stampers, the first one was dry so I moved on to step 3 right away.


STEP 3: Paint a thick layer of your background colour over the whole design. I ussed Barry M - Baby Pink which is a creme that is slightly sheer, it needs 2/3 coats for full opacity but for the decals I just did one coat. You can see the design showing through which highlights the density of the polish.

STEP 4: Now this step seems like it would take ages before you could do it. Not so much. I was tricked because the polish looked shiny, like it was still wet. But after 10 minutes it was completely dry! And shiny! Gently slide your nail under the edge and start to peel your design off.

The squishy rectangle stamper which you can get here was a little hard to get started. I jimmed my thumb around the whole edge to make sure it was lifting away but once I got the whole thing free it came away easily. You could also use a dotting tool to poke under it but I would be worried about dinging my squishy stamper. My nail worked fine. I noticed that the decal from this stamper was the most crisp and the stamping itself the most opaque.

It peeled cleanly away with no holes or tears or sticky spots. It may have left some while stamping polish behind but I couldn't see any spots in the design so I'm assuming it didn't.

With the Konad red mushroom stamper available here - it came away SO easily and seemed to be much stronger than the squishy one, more flexible and less likely to break.

It peeled off very easily, it did leave a few teeny tiny bits of white stamping polish on the stamper though and you can see in the outlines where the polish is spotty.

The super firm green rectangle stamper, available here - This one needed some gentle nudging to get it started and I accidentally made a couple of rips because I was being impatient and jabbed at it with a dotting tool. Whoopsie! It was the most difficult to peel but once I got it started it was fine. No polish left on the stamper but the outline was a little spotty.

Here is the end result with my decals ready to apply to my nail. Pretty! Left is firm green stamper, right is white squishy stamper and bottom is Konad mushroom stamper. The squishy stamper one is definitely the best but the others also came out fine, just a bit muted in comparison.

STEP 4: Trim your decals to your approximate nail size.
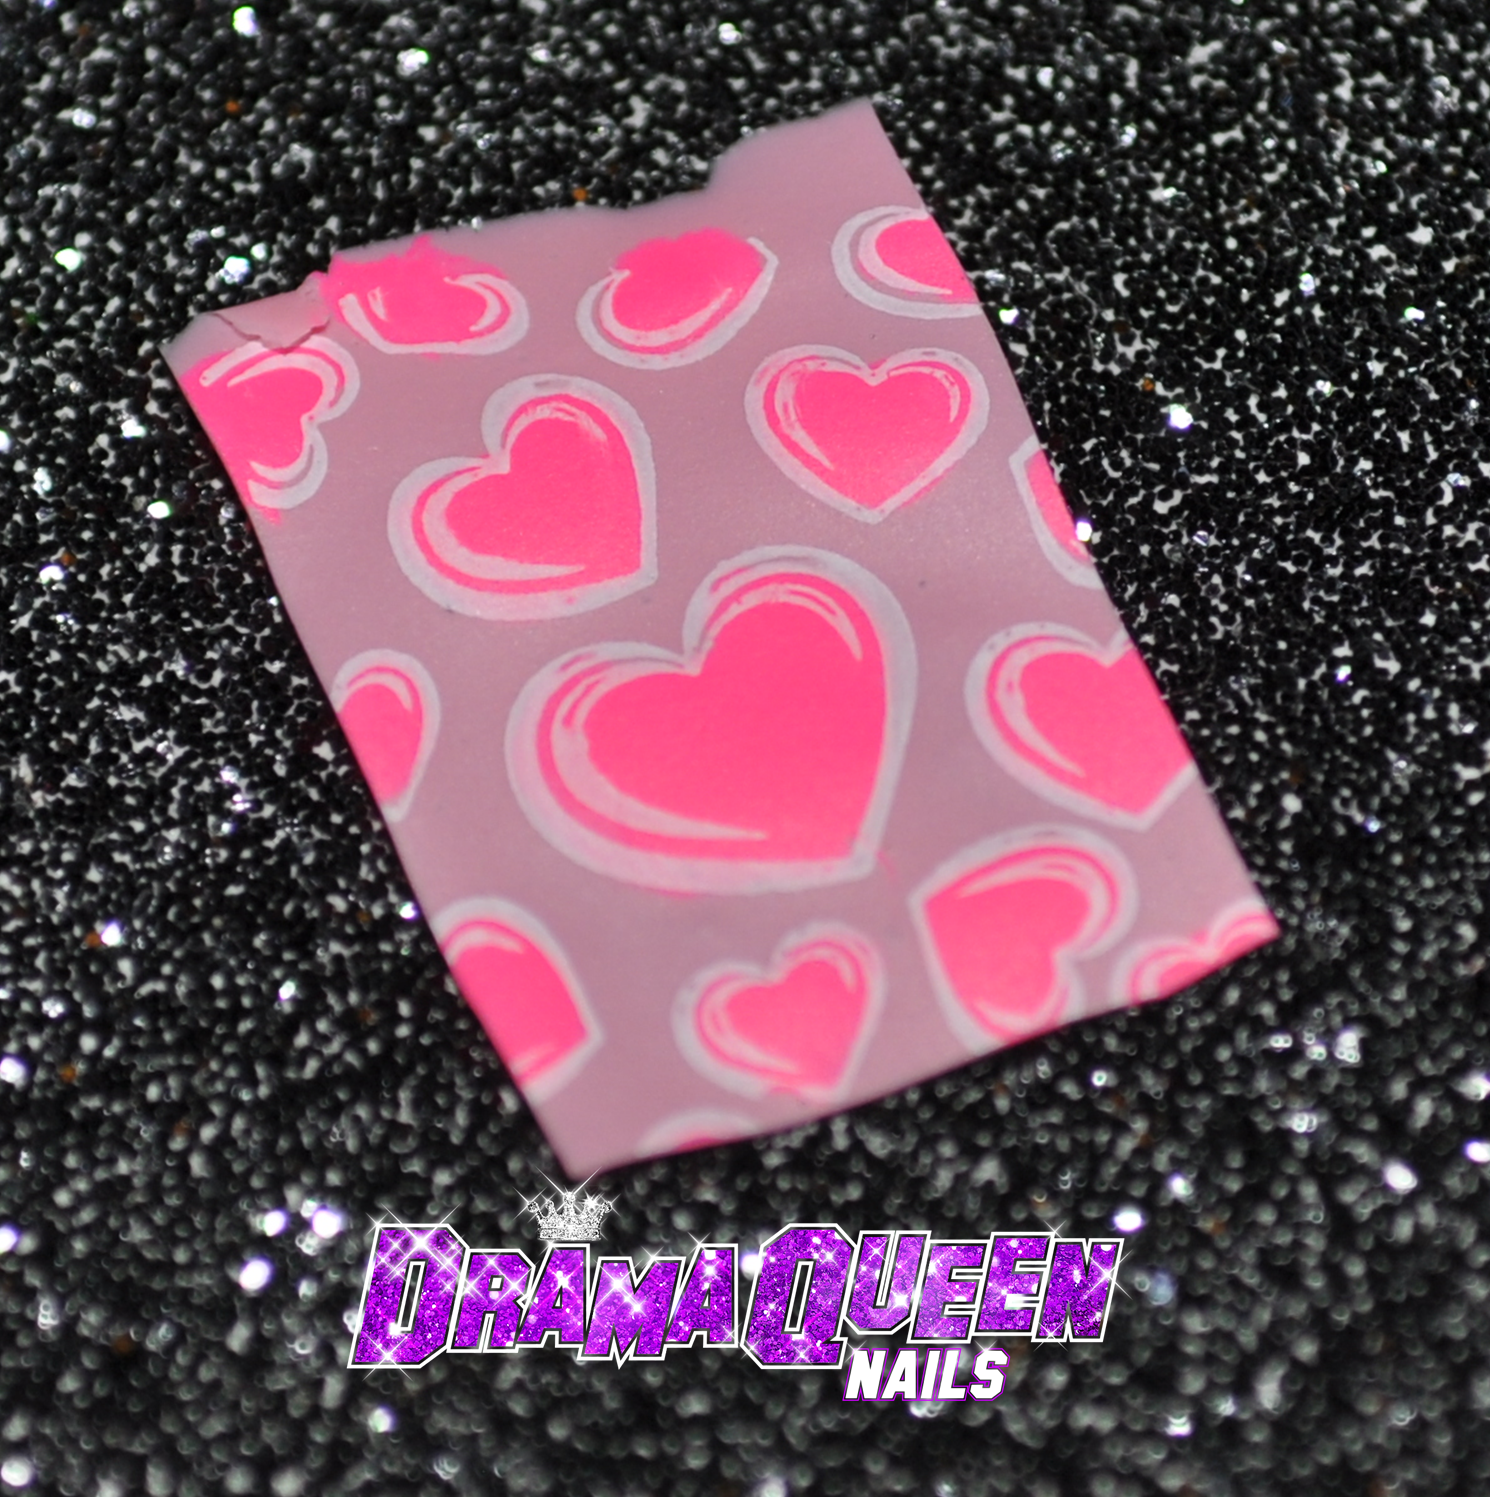
STEP 5: Apply a layer of base coat to your naked nail then gently place the decal over it whilst it is still wet. Use your finger tip to GENTLY smooth out any wrinkles and also fold over the tip of the nail for a clean edge. When it is firmly in place and the base coat underneath has dried (no decal movement when touched) use nail scissors to trim off excess. You don't need to go to crazy with trimming as you can remove the excess decal with nail polish remover and your clean up brush.

STEP 6: Now this part has options. You can apply topcoat first, wait for it to dry then clean up OR clean up first then apply topcoat. I did the first option. The topcoat will smooth out any dings or wrinkles, its like magic!
I loved how these decals turned out however I was most impressed by how quick each layer dried on the stamper. There was virtually no smearing when I applied topcoat and the finished product is vibrant. Can you just imagine the possibilities of all the different designs you could make! The white squishy stamper was the clear winner in terms of quality. If you give this technique a go we would love to see and hear how you went xx