Showing posts with label striping tape. Show all posts

25 September 2014

#31dc2014 Day 25: Inspired by fashion

I think its ok to say.....best nails of the challenge so far! These are funky, I love how they turned out. Which is good because they took flippin ages to do.


Polish:
  • OPI - The "It" colour (yellow)
  • OPI - Hey Baby (pink)
  • OPI - Angel with a lead foot (white)
  • Barry M - School of hard knocks
  • China Glaze - Wait and sea
  • OPI - Red my fortune cookie
The dress I was inspired by is from this really odd website (just go look at it...lol the translation) www.becauseclothing.com I have never shopped there but this dress is super gorgeous and rainbow-y...it was begging to be turned into nails! 


To create these nails I used a medium striping brush to layer on the colours. No need to be super precise with the crossover lines because you can cover them with striping tape. Then apply lots of strips of black striping tape and use good scissors to cut them precisely. I always apply 2 layers of topcoat over striping tape in an attempt to make it last longer. 


I hope you guys like these as much as I do xx


get the InLinkz code

8 April 2013

Lush Lacquer Princess Poodle

Its called Princess Poodle? I don't even need to see what colour it is, MUST have it! Those who have been following me for a while know that I have 2 gorgeous fluffy children, one who is a poodle. I've had poodles all my life and they are such amazingly smart dogs, not to mention cute as a button! OK, I'll stop going on about my babies so you can go look at this unique polish from Lush Lacquer. 


Princess Poodle is an off white jelly with pink, black and grey glitters. The glitter is a mix of hexagons, bars and micro dots. There are larger pink hexagons in the mix too. The formula is great, not too thick and no fishing for glitter, but I did have to spread the glitter around on my nail by dabbing the brush in empty spots. I also had to spread one or two clumps where lots of glitter had piled together but it was really easy to move around because the suspension base did not dry too quickly. This is one coat over an off white creme, OPI - My Vampire Is Buff. I tried 2 coats of Princess Poodle on its own and it was just too much, it looked crowded on the nail.


To create the V shape I used striping tape. The grey is China Glaze - Recycle and the pink was an unexpected winner from BYS. Its called Pink Panic and it really came to life with top coat, its a gorgeous colour with a great formula. I feel like BYS is picking up its act lately, when I first started collecting polish when I was a teenager BYS was all I could really afford and I remember it being crappy and chipping and staining my nails. Recently I have bought a few things from their new collections and I have loved every one...great news for Aussies! You can get Lush Lacquer - Princess Poodle here.


Far from a princess, my very blokey poodle Hank caught in the act digging a giant hole in the grass! What? Me? I know nothing!

2 April 2013

Light it up blue for World Autism Awareness Day

So many of you might not know that apart from being a nail queen by night, by day I'm a special needs teacher. I teach at a gorgeous state school in Brisbane and the kids I work with are really lovely, they thank me for teaching them nearly every day....really! So it was a no brainer to light it up blue for World Autism Awareness Day. Another reason, my niece is Autistic and she is one of the smartest, most interesting, well mannered and loving kids I know. This first picture was taken out in the sun to "light up" the beautiful blue glitter. This ones for you Sophie.


I am a specialist ASD teacher which stands for Autism Spectrum Disorders. Some well known spectrum disorders include Autism, Asperger's Disorder, and Rett's Disorder. The most common spectrum disorder is Autism. Autism is a complex neurobiological disorder that typically lasts throughout a person's lifetime. People with ASD have problems with social and communication skills. Many people with ASD also have unusual ways of learning, paying attention, or reacting to sensations. In most cases its causes are unknown. Today, 1 in 110 individuals is diagnosed with autism. If you would like more information about Autism please check out the Autism Awareness website.


The polishes and tools I used in this mani:

China Glaze - Refresh Mint

If you would like to give this mani a go its not too hard, just a little time consuming. I applied the striping tape over a layer of clear base coat (which was super dry btw). Then I used a small brush to paint each section of colour. I pulled off the striping tape then applied a layer of Seche Vite to dry it all. I waited a good 10 minutes to make sure it was really dry. Then I reapplied the striping tape in the exact same position as before, and added another layer of top coat. 


So show your support for Autism Awareness Day and all Australians with Autism by wearing something blue, and check out the Sydney Opera House tonight to see it lit up blue. If you go blue, share your picture on instagram and tag #bluenailsforautism #lightitupbluenails #lightitupblue #autismawareness

17 March 2013

Reverse Gradient for #bestietwinnails

So I decided to jump on the #bestietwinnails bandwagon. This tag is currently doing the rounds on Instagram and I think its a fab idea. Get together with your bestie and have matching manis. I'm lucky enough to run DQN with my bestie and she is always kind enough to let me experiment and try out new techniques on her....the reverse gradient.

Read on for a tutorial for how to do this design.


Julsie's pink reverse gradient.


My St Paddy's Day version.

Now on to the tutorial. Here is what you will need to complete this design.


  • Base and Top coat
  • white nail polish - Barry M White
  • 3 colours from the same hue family. I chose OPI - Skull and Glossbones, Zoya - Bevan and Barry M Gelly - Watermelon
  • Striping tape and scissors
  • A makeup sponge, or other sponge but I find this kind of sponge is easy to hold and the perfect size and shape for using on nails.

Step 1: Prep your nails with one coat of white polish. This helps to make the colours vibrant and if you are using a sheer polish is vital for ensuring your mani isn't see through. It doesn't need to be perfect, its about to be covered in 4 layers of polish. 

HANDY HINT: Leave a bigger than normal gap between your polish and cuticle. When you are cleaning up you will need to use a small brush to wipe away polish near your cuticle. You don't want the white polish to start showing through, leaving a big gap makes this a lot easier to achieve.


Step 2: Paint 3 layers of your chosen colours onto the sponge. Make the first few strokes really heavy on with the polish to get the sponge primed. Overlap each layer to the colour above and below it to blend the colours. You could use this technique also for a much cleaner blend but it will take a really long time to get through this design. Because there is so many layers to this mani, painting it onto the sponge may give you a "liney" look, but when it's finished there is so much going on that you cant really notice it.


Step 3: Dab the sponge onto paper to remove excess polish before applying to the nail. Apply to the nail dabbing in one direction, from the tip towards the cuticle.


Step 4: Messy! You could apply sticky tape on your skin around the nail to avoid this mess and make clean up easier but I feel awkward with tape on me and its hard to handle the striping tape in the next step. Make sure you cannot see any of the white base you applied, get the sponge down into the nooks and crannies. IMPORTANT: Add a layer of quick dry topcoat now. If you don't do this the striping tape will mess up your design. Wait a good 10 minutes before moving on.


Step 5: Cut up your striping tape. You will need 17 pieces for each hand. Manipulate your striping tape with tweezers, it makes it so much easier than trying to use your fingers.


Step 6: Apply 3 pieces of tape to each nail, spaced evenly apart. Use 5 pieces for your thumb.


Step 7: Repeat step 2 except reverse the order of the colours on your sponge. Repeat step 3. HANDY HINT: After sponging the polish onto the nail remove the striping tape before moving on to the next finger. Removing tape whilst the polish is still wet will give you cleaner lines. I didn't do it here because I wanted to show you what this step looks like in full.


Step 8: Remove all the striping tape and get ready to clean up. I started clean up with cotton buds to remove the bulk of the polish on my skin. Then I moved to using my clean up brush. Apply topcoat again and you are done.


1 February 2013

Monochrome Madness meets Dashica stamping

Black, white and grey, a classic combo that never goes out of style. And with Valentines Day just around the corner, I suppose it's time to start hiding a few hearts here and there. Got to LOVE the kitchen sink mani, solves the problem of never being able to decide what to do. Do everything! 


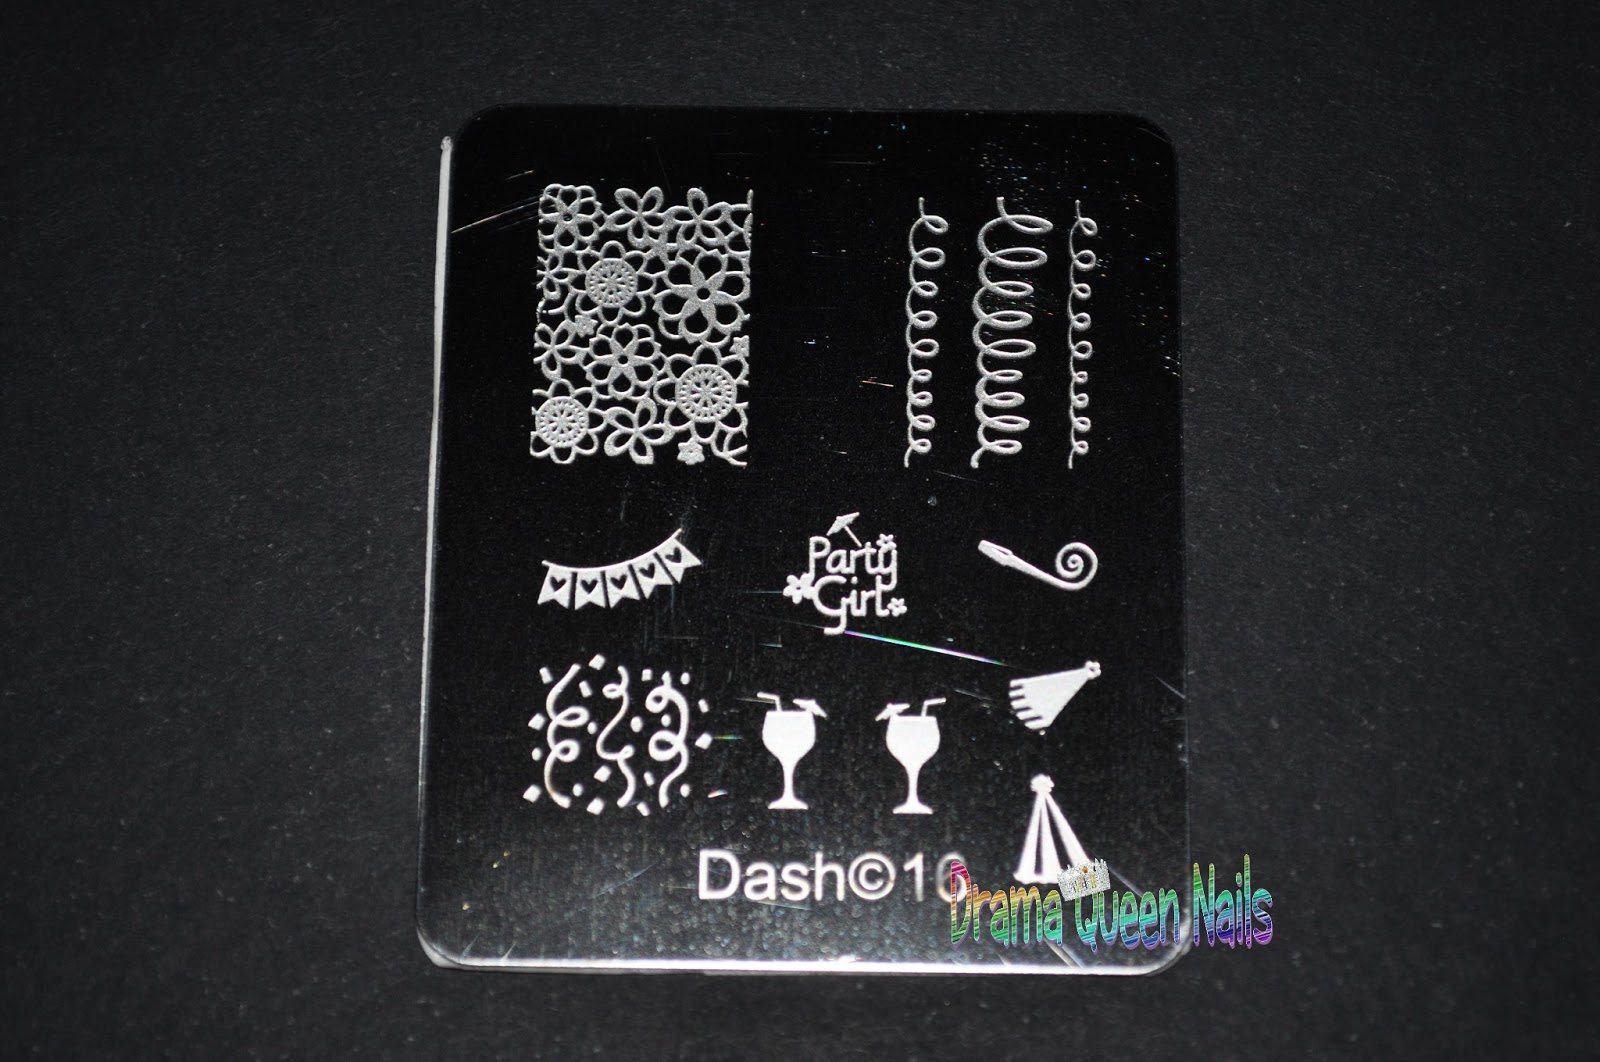
The grey is China Glaze Recycle with China Glaze White on White. The black is OPI Black, I have no idea what its called the sticker fell off ages ago. I stamped with Barry M Silver Foil and used plate Dash8 from the Dashica 20 piece stamping collection. The glitter is an indie polish from All That Glitters called Space Rock.


Here is the set in its entirety and it comes in this amazing little storage purse...cute! You can get the set from here.


The plates are super high quality and stamp exceptionally well and when you think of the cost of individual Konad stamping plates they are great value.

8 January 2013

Confessions of a glequin addict

Yeah, yeah, so I used glequins again...I promise though, there was a plan behind it all. With my last few designs I have been curious to see just how many different ways you can use them to mimic painted nail art techniques. Also I get so many questions about 2 things, how to apply glequins and what is striping tape. So today's experiment was put all those nail art elements together in an attempt to show how I use both glequins and striping tape and also to see if glequins could;

1. Do a gradient
2. Be used as polka dots
3. Lastly be used with striping tape to make lines or cut out sections.


Well I'm not entirely sold on the gradient, it looks kinda messy and chunky and doesn't have the nice fade effect so I probably need to work on that and tweak it a bit. The polka dots look cool, will definitely be using glequins for that look again. And the striping tape...hmm well, the jury is out on this one. This is the first time I have tried something like this so it was bound to have its imperfections.  I do think there is something there though, just the placement of the stripes and the sections covered needs to be reworked. I think its important to show your nail failures as much as your successes as we learn from others and also ourselves and there are many times when I do a design just for the practice then take it off straight away.


The tools I use when working with glequins. A small dotting tool to pick up each sequin, a piece of tin foil to put a little dab of base coat on. I dip into the little dot to make the end of my dotting tool sticky so it can pick up things. I normally apply base coat directly on my nails where I want to apply sequins, working with small areas at a time so that it doesn't dry on me. If I have gaps to fill I will use the dotting tool to put a tiny dot of base coat in the hole then stick the sequin over it. You can get the glequins here.


To do the stripes on my middle finger I used striping tape. Striping tape is very thin tape that can be used to make straight lines or as a straight line feature over the top of polish. It comes in many colours but there are two main kinds, holographic pretty tape and plain matte rubbery tape. The rubbery kind is best for geometric designs likes lasers or the Rubiks Cube nails that I did. Whilst the fancy holographic  looks really nice as a feature. It does still make clean lines its just a bit more finicky. You can get striping tape here.


I applied the tape, then painted base coat in-between, like in rows, then applied the glequins. Normally I would advise to pull the striping tape off as soon as you are finished painting that area, it gives cleaner lines. However as I was working with something chunky that I didn't want to move until it was set I left the tape on until I was finished the whole nail.


The base colour I used was OPI Skull & Glossbones, a putty grey creme, my go to grey as it is opaque in two coats and the colour is just so fab and chic. This polish is from the Pirates of the Caribbean collection. I hope you guys had a few of your questions answered with this post. Please comment below if there is anything else you would like to know.

LinkWithin

Related Posts Plugin for WordPress, Blogger...