Like it does every year the 31 day nail art challenge crept up on me. How can it be September already, wasn't I just doing the 2014 one? Well yes another year has swept by in a flash, and its round 4 of the #31DC for DQN. This year a new mantra; "Don't stress, you'll get there, so what if you're a few days late, you'll catch up!" I decided not to put too much pressure on myself and I'm enjoying it much more this year, mixing it up with some colouring in along the way. So here at the halfway point let's review days 1 to 15.

The first few days of the challenge I find tricky as they are based around colour, so it's fairly open ended. This year I decided to use my latest obsession, colouring in, as inspiration for some of the manis in the challenge. I have started on the Enchanted Forest by Joanna Basford and the pages truly are mini works of art, ready for you to unleash your creativity on.

Day 1 Red

Day 1: Red
OPI - Over & over again with decals made on a Teflon mat using Fun Lacquer - Pay Day and OPI - Colour Paints.

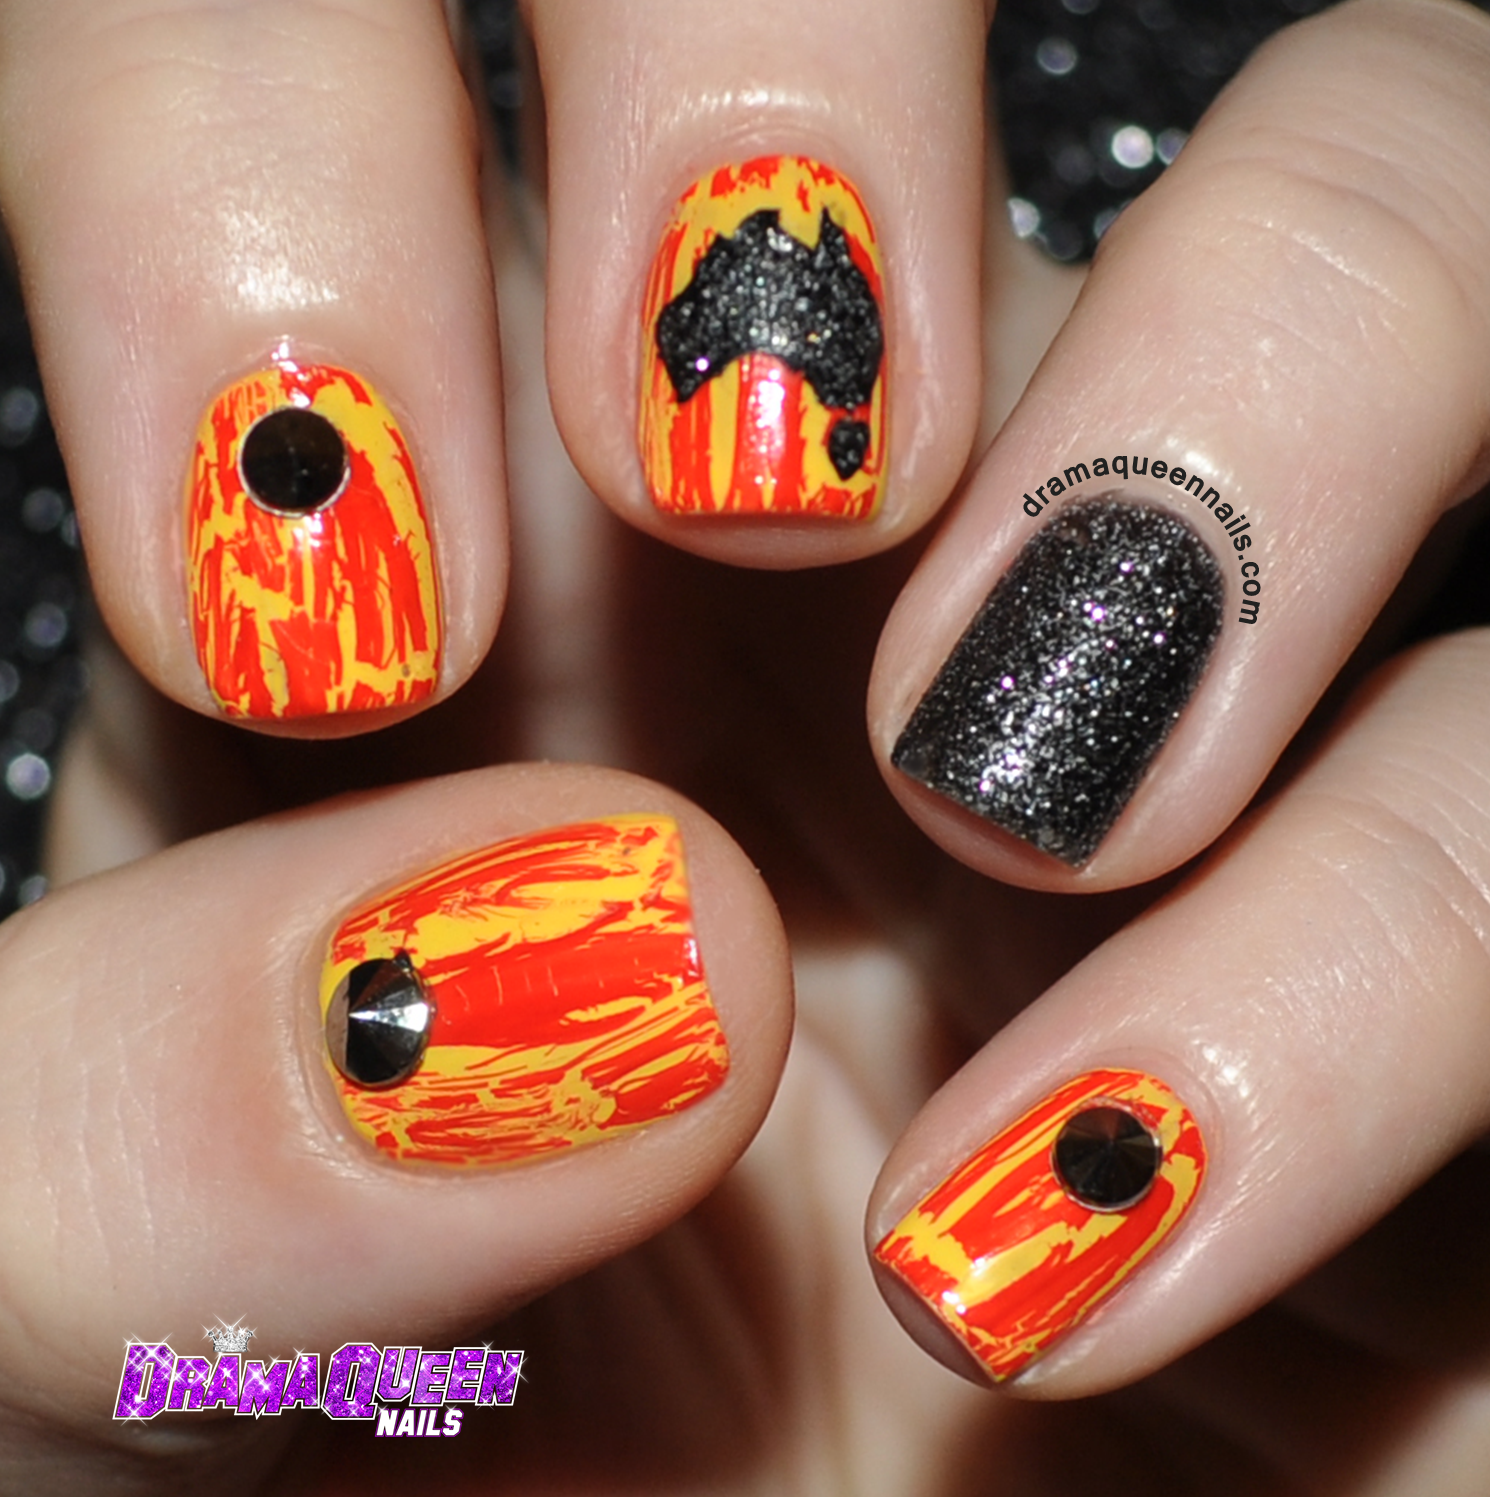
Day 2 Orange
Lime Crime - Peaches and Creme stamped with MDU Neon Orange. Stamp from BM 300 available here.

Day 3 Yellow
Orly - Glowstick with Essie - Sand Tropez. Neon triangle available here.

Day 4 Green
Today was a bit of a nail fail. I was trying to do some dry marble squiggles but it was really hard to get them to come out even across the nails. So I added glitter, which seemed the logical thing to do. China Glaze - Turned up Turquoise with Essie - Sand Tropez.

Day 5 Blue
An innovation on a mani I did in the #31dc2013 which was inspired by Chalkboard Nails. Gradient done with Barry M - Blue Moon, China Glaze - For Audrey and China Glaze - DJ blue my mind. Ripples stamped with BM 509 and Konad white. Starfish stamp from BM 503 using MDU neon orange and red. BM 500 collection available here.


Inspiration pages from Enchanted Forest.

Day 6 Violet
Zoya - Carter. By this stage in the challenge I was really, really sick with round 2 of the Brisbane Virus. Painting my nails a single colour was about as much as I could muster. Thankfully this polish really stands alone, its such a beautiful colour and texture.

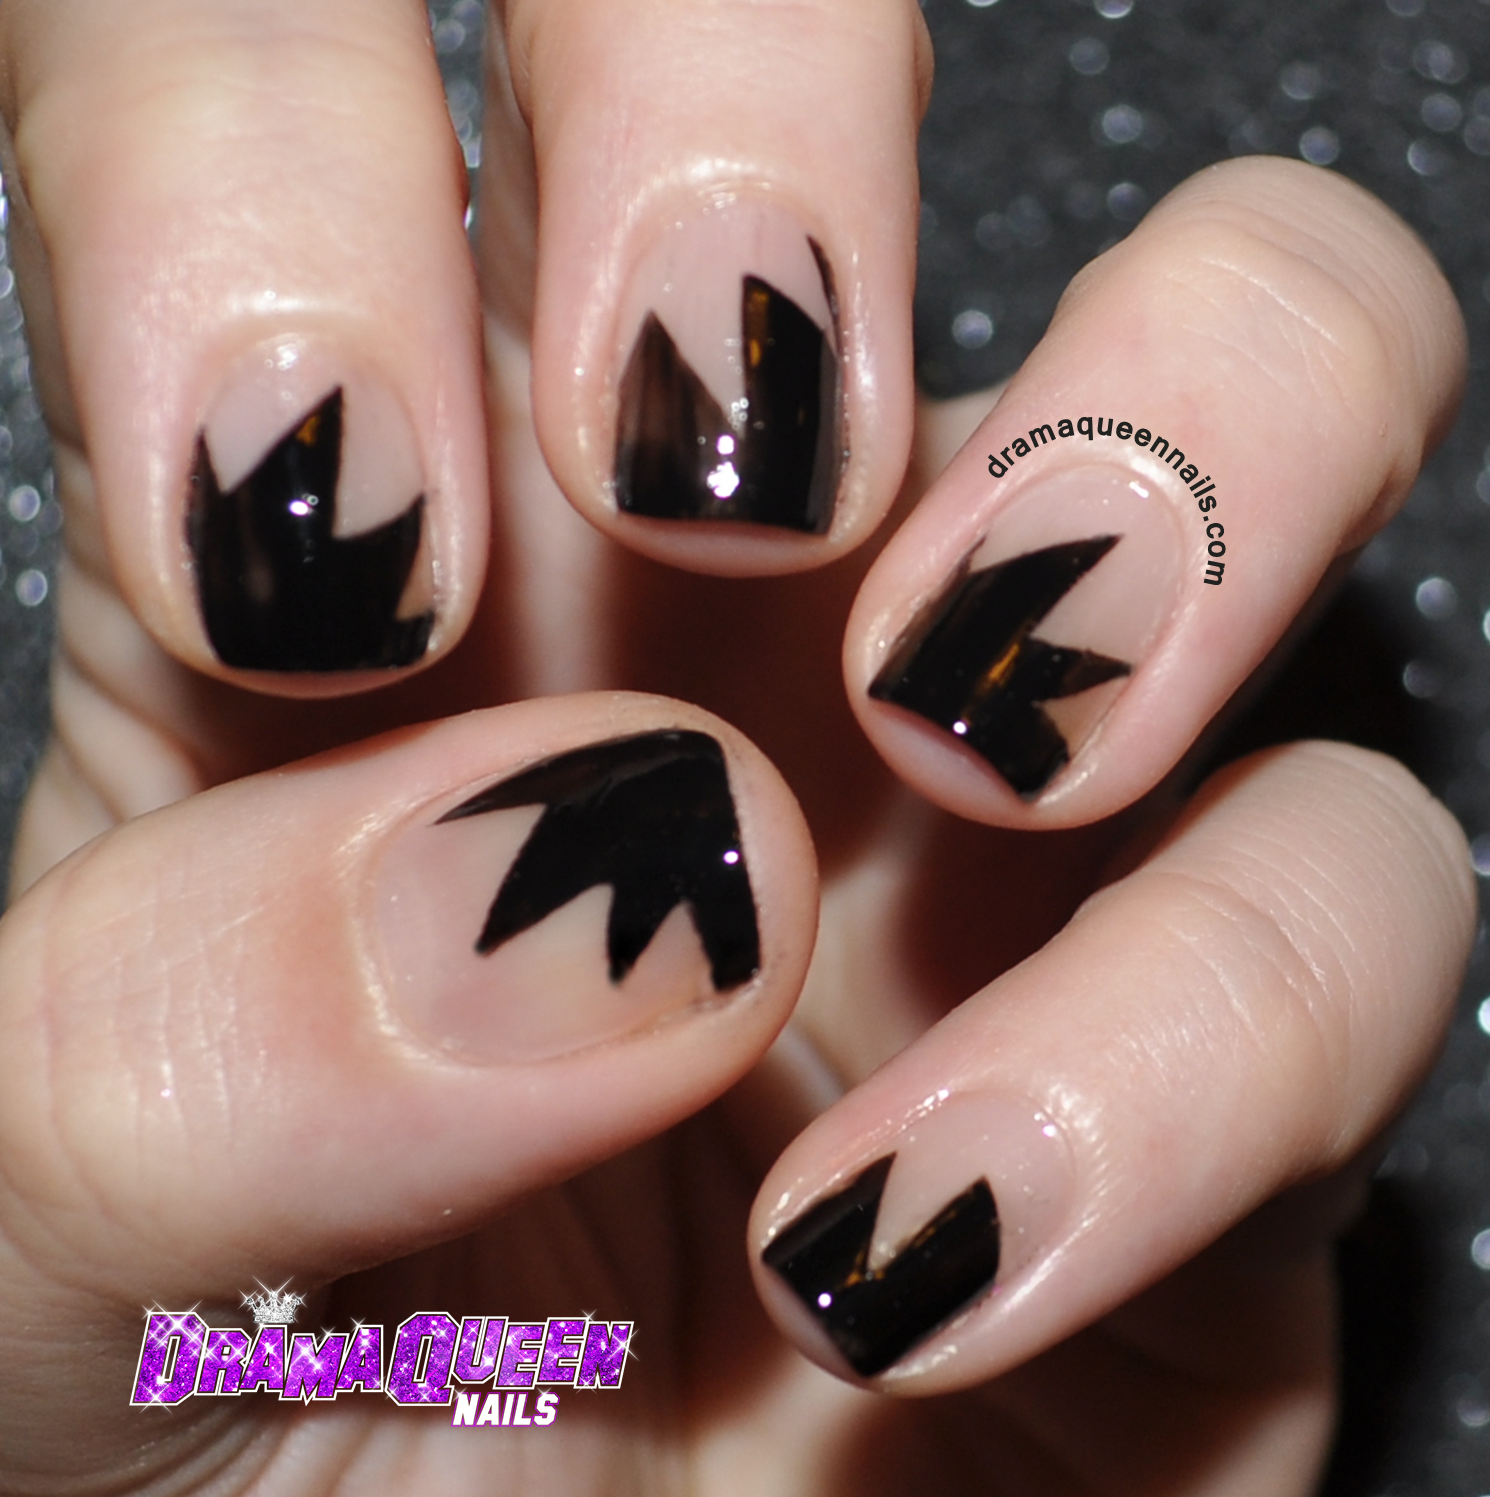
Day 7 Black and White
There was a story behind these nails - During this week Brisbane had 3 major incidents of domestic violence reach the media. All 3 were ridiculously scary and 3 people died, needlessly. It prompted me to take a look at my own relationship and realise how lucky I am to be adored and loved by such a patient and sensitive stand up guy. Love you Frankie Tim, I'm thankful for you everyday. LOVE and RESPECT, you can never have too much, you can never give too much. If you need support with domestic violence please contact Mission Australia, Stamp from BM 300 - available here.

Day 8 Metallic
OK - by far the hardest nails I have done this year. Foil stamping, you wily fox you, just when you think you almost have it....noooooo, the foil doesn't stick! If you want to attempt these, the best way I have found is to paint a layer of topcoat onto a plastic bag or Teflon mat. Stamp onto it using KONAD stamping polish (its the only brand that worked for me), then super quickly put a small rectangle of foil over the stamped image, rub it with a cotton bud to get the foil to stick to the wet stamping polish. Give it a few minutes to dry then pull off the decal and apply to nail. It's difficult to get the decals to sit flat at the tips of the nail but the sparkle kinda balances out the crinkly bits. OPI - Don't Pretzel my buttons with Konad Gold and gold holographic foil.

Day 9 Rainbow
One of my fav prompts in the challenge. I couldn't go past rainbow decals. Made on a Teflon mat by drizzling OPI Colour Paints together, then adding a backing layer of silver glitter. I also painted the rhinestone on the bow with colour paints.

Day 10 Gradient
Unicorn stamp from Winstonia 100 collection. I used the foil stamping method to get the unicorn to sparkle. Large rhinestone bows available here.

Day 11 Spots
Gloss and Sparkle - The Lotus Eater. Glass crystals available here.

Day 12 Stripes
Random swishes, colours created using OPI colour paints and OPI Alpine Snow. Done with a small striping brush.

Day 3 Animal Print - Chameleon
Oh my, what magical little rainbow creatures chameleons are! Again I used my OPI Colour Paints to mix together the colours for this mani.
Made with stamper decals. Check out the tutorial for stamper decals here.

Day 14 Flowers
Stamper decals again using B Loves Plates - Flowers, available here. To get the 2 tone effect with the flowers I stamped with Hit the Bottle - Poison Apple, then filled in the flowers using OPI - Over & over again. Nude is OPI - Don't Pretzel my buttons.


This page in Enchanted Forest was my inspiration, I'm not sure how I got to tulips from this image but I did!

Day 15 Delicate Print
My favourite nails of the challenge so far. These really came out better than expected as I was trying to do an exact match between the stamping polish and OPI -Designer de Better. To achieve this stamping colour I mixed Konad silver and gold together then added a little drop of Hit the Bottle - The Drunken Elf, which is a duochrome brown. They mixed to form a kind of rose gold/dusty musk pink colour. Heart stamp is Pueen 41 - available here.
With 16 more days to go I have really got some work ahead of me catching up, but I refuse to feel guilty, I'll get there when I get there. Hoping you guys are enjoying the challenge this year xx

.jpeg)
.jpeg)
.jpeg)
.jpeg)
.jpeg)
.jpeg)
.jpeg)
.jpeg)
.jpeg)
.jpeg)
.jpeg)
.jpeg)
.jpeg)
.jpeg)
.jpeg)
.jpeg)
.jpeg)
.jpeg)
.jpeg)